Table of Contents
ShaderWB is an software program for playing with shaders. It is currently available as pre-alpha and runs on MS WIndows.
The major purpose of ShaderWB is to set up new shaders fast with a direct visual output and no need to recompile anything. You can write your shader code and you will either get the error report or see the shaders' result.
In this given pre-alpha version, only texture rendering is possible. This means that your shader is applied to a plain plane, nothing more. Further use cases will be added in subsequent versions — if someone shows interest. Please give us some feedback by writing to daniel@krajzewicz.de.
This user documentation is structured as following: Chapter 2 gives an overview about ShaderWB's main window and its components. Chapter 3 lists the actions accessible in the menu bar. Chapter 4 lists contact possibilities and further sources of information.
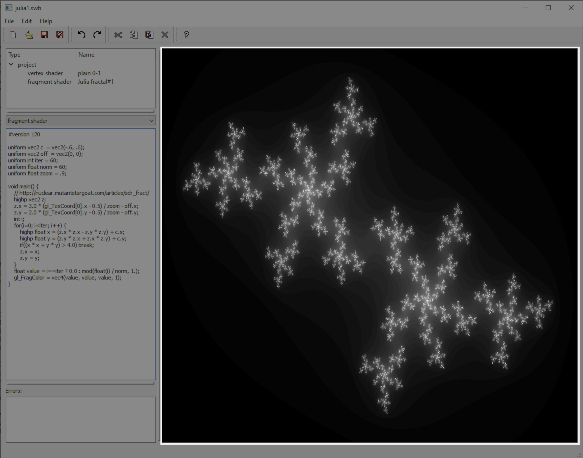
The main window is divided into different sections or components. The main window is shown in the following image. The components it consists of are described in the following.
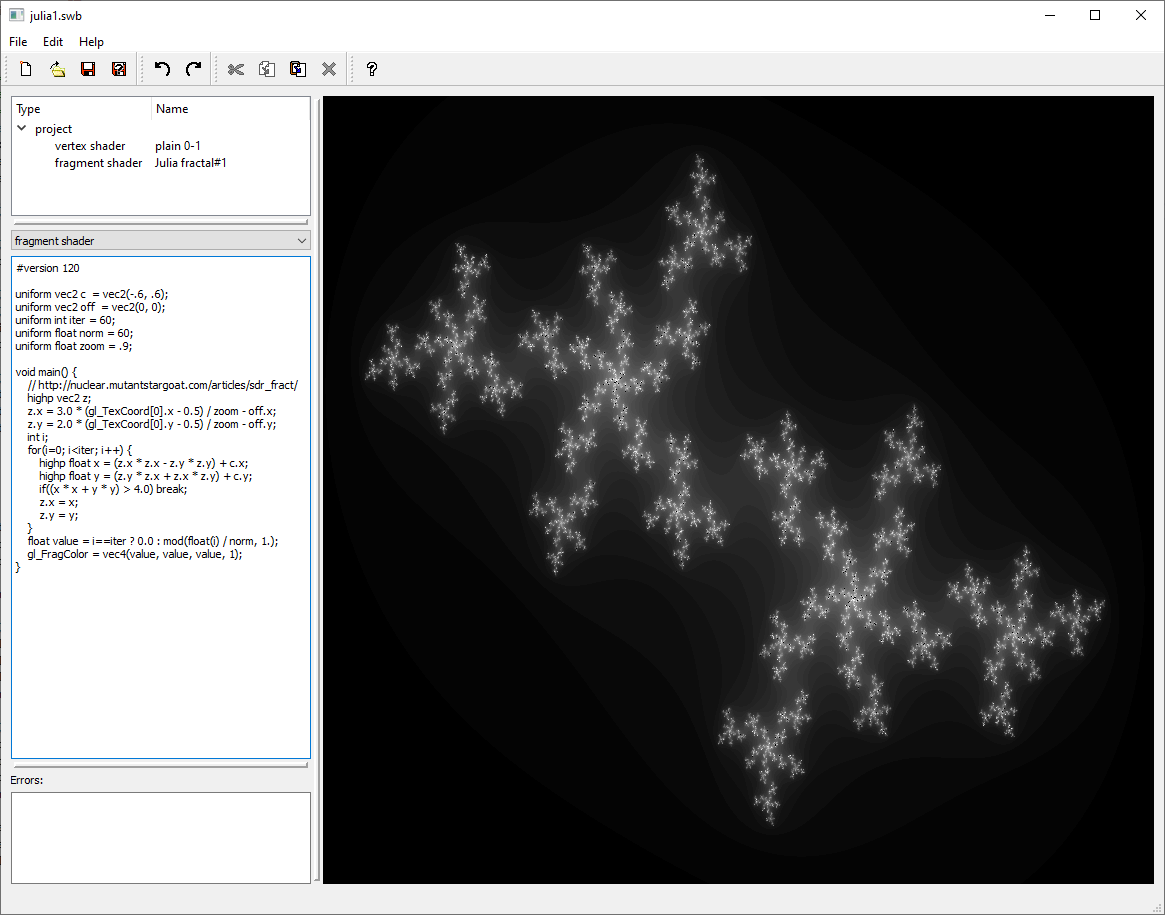
The project tree shows the used shader files. The project tree is highlighted in the following image.
The shader code editor is a text editor you can type your shader code into. The editor support clipboard actions, such as cut, copy or paste, as well as undo/redo. You may switch between the fragment and the vertex shader using the combo box that is located above the editor. The shader code editor is highlighted in the following image.
When any errors occur during shader compilation, they are shown in the error viewer. The error viewer is highlighted in the following image.
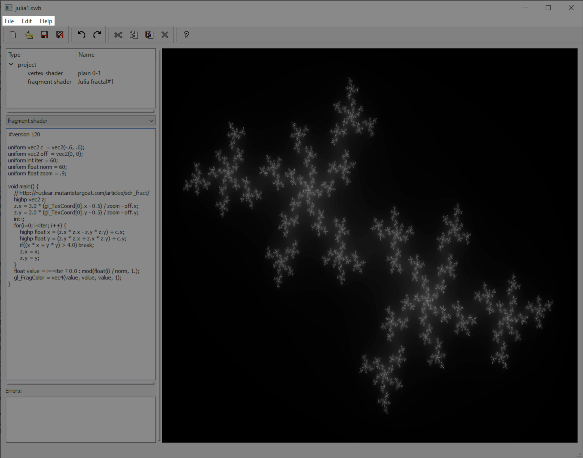
The viewer contains the result of the image generated when applying the shader. The viewer is highlighted in the following image.
The menu bar is highlighted in the following image.
The menu bar contains all the actions ShaderWB is capable to perform. It is the major interface between the user and ShaderWB. Thereby, Chapter 3 is completely denoted to list the actions that can be found in the menu bar.
The tool bar is highlighted in the following image. It contains shortcuts the most often used actions.

The tool bars contain shortcuts to a selected set of actions that can be found in the menu bar. The following tool bars exist:
-
: Holds project interaction actions, namely:
-
: Holds the following actions:
-
: Holds the clipboard options for palletes, namely:
-
: Holds major meta information about PaletteWB, namely:
The status bar is highlighted in the following image.
When hovering above a menu bar or a tool bar entry, the status bar shows a coarse description of the according action. In addition, the status bar shows an according message when a new file was loaded or saved.
All of ShaderWB's functionality is accessed using the actions to be found in the menu bar. The actions are grouped into the following topics:
-
: Holds actions for loading, saving, and exporting files and for printing, see “The ‘File’ Menu”,
-
: Holds actions for editing the palette and selected entries, see “The ‘Edit’ Menu”;
-
: Holds actions for display ShaderWB's about and help dialog, see “The ‘Help’ Menu”.
The menus are described in the following subsections.
The menu allows you to load and save projects, images, and color palettes from/to different formats. Additionally, a loaded palette can be exported as an image or into diverse text formats. As well, both images, and palettes can be printed. The menu contains the following entries:
-
 :
Generates a new, empty project, see “New”;
:
Generates a new, empty project, see “New”; -
 :
Opens an existing project file, see “Open…”;
:
Opens an existing project file, see “Open…”; -
 :
Saves the current project, see “Save”;
:
Saves the current project, see “Save”; -
 : Saves the current project under a new name, see
“Save as…”;
: Saves the current project under a new name, see
“Save as…”; -
: Opens a previously loaded or saved file, see “Open recent”;
-
: Clears the list of recent files, see “Clear recent files”;
-
 :
Quits the application, see “Exit”.
:
Quits the application, see “Exit”.
The actions within the menu will be described in the following.
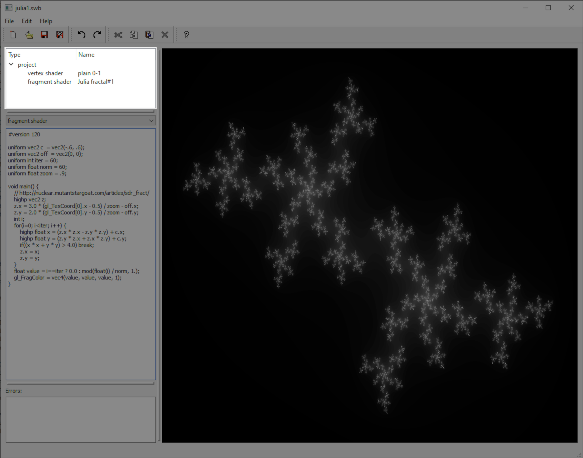
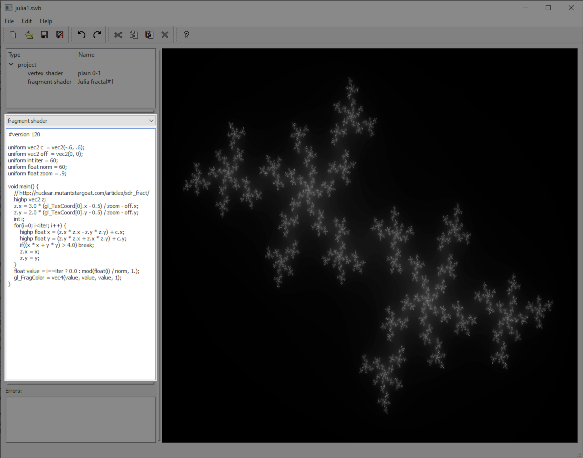
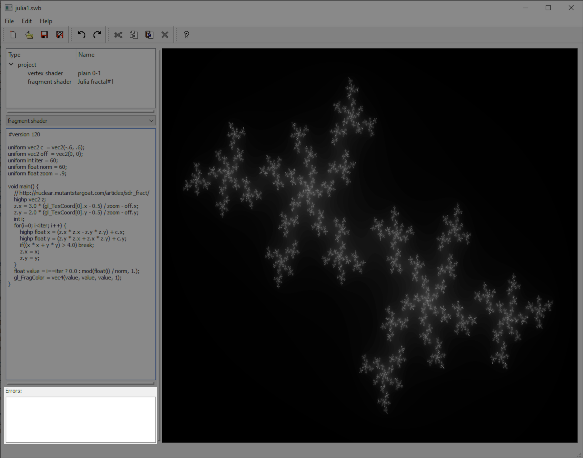
A new project will be initialised consisting of a simple vertex shader and a fragment shader that renders a Julia fractal.
If the project tool bar is shown, you may as well click on the
according icon (![]() ) to instantiate a new
project.
) to instantiate a new
project.
This action loads an existing project from the file system.
If the project tool bar is shown, you may as well click on the
according icon (![]() ) to load a
project.
) to load a
project.
If a project was loaded and modified you can save the changes to the project by choosing this item. If the project was not saved before, a dialog will be shown where you can select the folder to save the project into and define the project's file name.
If the project tool bar is shown, you may as well click on the
according icon (![]() ) to save a
project.
) to save a
project.
Choosing this item will show a dialog where you can select the folder to save the project into and its name.
If the project tool bar is shown, you may as well click on the
according icon (![]() ) to save a project
under a new name.
) to save a project
under a new name.
Behind this entry, you may find a list of previously loaded or saved files. When selected, the according file will be loaded.
The menu holds actions for undoing/redoing editing, for basic clipboard options, and for selecting text within the shader editor:
-
 :
Undos the last action, see “Undo”;
:
Undos the last action, see “Undo”; -
 :
Redos the last action, see “Redo”;
:
Redos the last action, see “Redo”; -
 :
Cuts the selected part of the text in the shader editor, copying it
to the clipboard, see “Cut”;
:
Cuts the selected part of the text in the shader editor, copying it
to the clipboard, see “Cut”; -
 :
Copies the selected part of the text in the shader editor to the
clipboard, see “Copy”;
:
Copies the selected part of the text in the shader editor to the
clipboard, see “Copy”; -
 :
Pastes text from the clipboard the shader editor at the cursor's
position, see “Paste”;
:
Pastes text from the clipboard the shader editor at the cursor's
position, see “Paste”; -
 :
Delets the selected text, see “Delete”;
:
Delets the selected text, see “Delete”; -
: Selects the complete text in the text editor, see “Select all”;
-
: Deselects all, see “Select none”;
The actions within the menu will be described in the following.
Undo reverts the last action or text edit.
If the undo/redo tool bar is shown, you may as well click on the
according icon (![]() ) to undo the last
action.
) to undo the last
action.
Redo re-performs the last undone actionor text edit.
If the undo/redo tool bar is shown, you may as well click on the
according icon (![]() ) to redo the last undone
action.
) to redo the last undone
action.
Cut removes the selected part of the text in the shader editor, copying it into the clipboard. After cutting the text, the current selection is removed.
The action can be only performed if at least one character is selected.
If the edit tool bar is shown, you may as well click on the
according icon (![]() ) to remove selected
palette entries while copying them to the clipboard.
) to remove selected
palette entries while copying them to the clipboard.
The selected part of the text in the shader editor is copied into the clipboard.
The action can be only performed if at least one character is selected.
If the edit tool bar is shown, you may as well click on the
according icon (![]() ) to copy selected
palette entries.
) to copy selected
palette entries.
Text within the clipboard is copied to the shader editor at the cursor's position. The action can only be performed if the clipboard contains text.
If the edit tool bar is shown, you may as well click on the
according icon (![]() ) to paste colors from the
clipboard into the palette.
) to paste colors from the
clipboard into the palette.
The action removes the selected part of the text in the shader editor. After deleting text, the current selection is removed.
If the edit tool bar is shown, you may as well click on the
according icon (![]() ) to delete selected
palette entries.
) to delete selected
palette entries.
The menu holds actions changing the PaletteWB applications appearence. The menu contains the following entries:
-
: opens a dialog for defining the font to use within the editor, see “Set editor font…”;
-
: opens a dialog for defining the font to use within the error view, see “Set error view font…”.
-
: toggles the visibility of the toolbar X, see “Show tool bars”;
-
: toggles the visibility of the status bar, see “Show status bar”;
The actions within the menu will be described in the following.
This action opens a font dialog for choosing the font — face, size, etc. — to use within the editor. When is pressed, the selected font will be used in the edtor. Otherwise the prior font will be used.
This action opens a font dialog for choosing the font — face, size, etc. — to use within the error view. When is pressed, the selected font will be used in the error view. Otherwise the prior font will be used.
This set of actions toggles the visibility of the diverse tool bars. Tool bars are described “Tool bars”. Each action triggers the visibility of certain tool bar.
The menu holds actions for interacting with the image view. The menu contains the following entries:
The actions within the menu will be described in the following.
This action shows the application about dialog which contains some basic information about ShaderWB.
If the help tool bar is shown, you may as well click on the
according icon (![]() ) to show the about
dialog.
) to show the about
dialog.
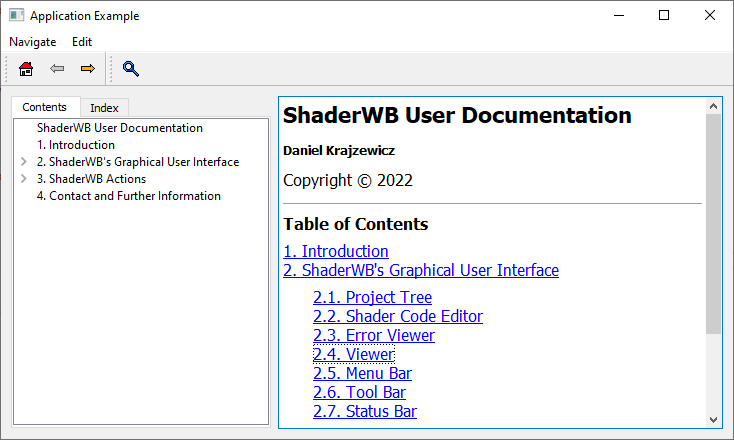
This action opens the help dialog. The help dialog includes the same information as the user documentation, yet browsable off-line in the application's context. The dialog looks like the following:
If the help tool bar is shown, you may as well click on the
according icon (![]() ) to show the help
dialog.
) to show the help
dialog.
ShaderWB has a web page at http://www.krajzewicz.de/blog/shaderwb.php. You may contact us by writing to daniel@krajzewicz.de.
ShaderWB is a product of:
Daniel Krajzewicz
Jochen-Nüßler-Straße 5
12359 Berlin
USt-IdNr.: DE281155133
Legal Information
Daniel Krajzewicz
Jochen-Nüßler-Straße 5
12359 Berlin
USt-IdNr.: DE281155133
© Copyright 2009-2022 Daniel Krajzewicz
Last changed on March 02 2026 19:53:07.
1288 visitors.
Contact: info@palettewb.com